For the first portion of the project, the professor wanted us to pick an object to re-create in foam. We had to pick some type of bottle for this first part. We weren't taught any specific techniques for sanding the pink foam and for many of us it was our first time working with the material.
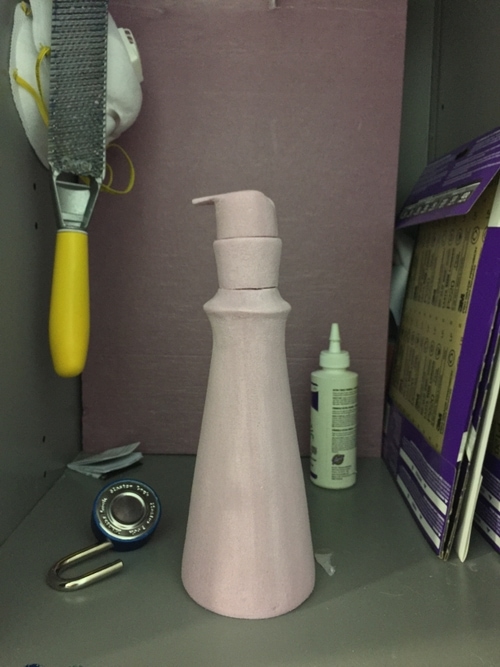
This first model took me well over 3 hours and 5 tries to get it right. I decided to make the model in 3 parts to make the sanding job a little easier for me. one of the hardest parts about this first model was getting the bottom and top planes of each part to be flat so they could be stacked on top of each other. I eventually secured a piece of sandpaper to the table I was working on and sanded the pieces in a circular fashion to get them level.


For the first portion of the project, the professor wanted us to pick an object to re-create in foam. We had to pick some type of bottle for this first part. We weren't taught any specific techniques for sanding the pink foam and for many of us it was our first time working with the material.
This first model took me well over three hours and five tries to get it right. I decided to make the model in three parts to make the sanding job a little easier for me. one of the hardest parts about this first model was getting the bottom and top planes of each part to be flat so they could be stacked on top of each other. I eventually secured a piece of sandpaper to the table I was working on and sanded the pieces in a circular fashion to get them level.
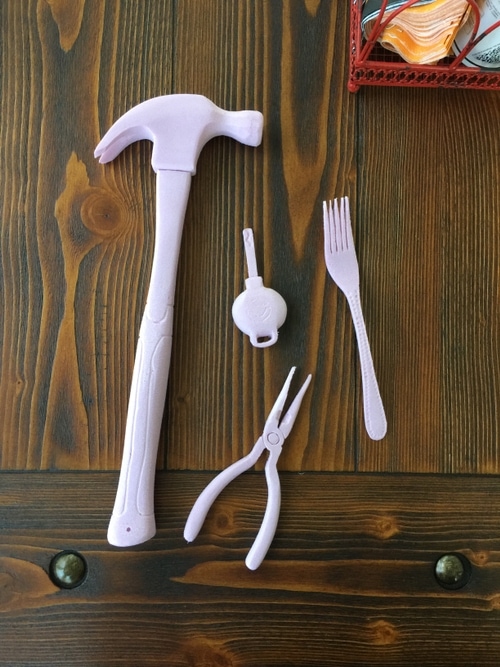
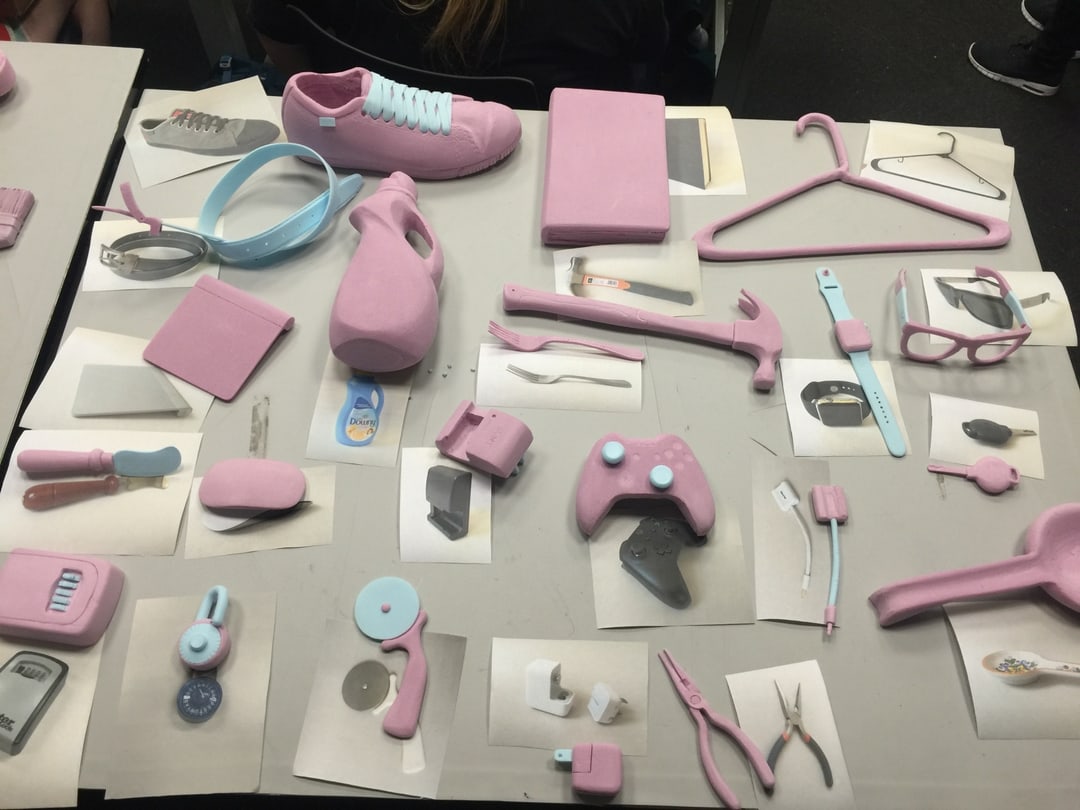
After the first part of the project was completed and critiqued, the professor introduced the next part of the project. We needed to complete 25 models of real life objects, with a wide variety of shapes and sizes, in the span of 4 days. We could use any hand tool we had or could make and any techniques we could come up with. The models had to be accurate and made by hand (i.e. not using any of the machines in the shop). It was heavily suggested to make these models in smaller parts and assemble them rather than making them out of one whole piece. Bonus points would be awarded if we were able to make the models actually work (e.g. the pliers actually moving or the pizza cutter actually spinning). Below are the 25 objects I chose to create.
The first couple of models were extremely difficult. I was still getting a hang for the feel of the material and how it reacts to different sanding methods. These first four models took the entire first day to complete because I was extremely focused on surface quality and not catching the foam on the edge of the sandpaper, which would rip the foam. While these were modeled to a relatively high fidelity, I wouldn't have time to devote that much time and attention to the rest of the models. I decided to drop the surface quality and keep the level of model accuracy in order to compensate for the remaining three days of work.


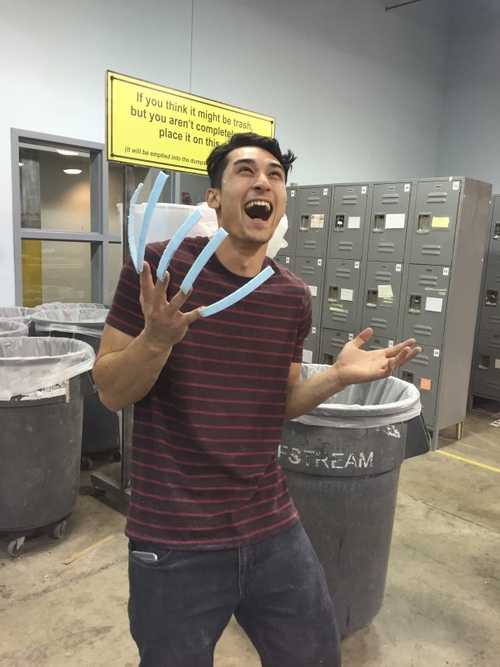
After three days of non-stop work and various trashed models, there were a lot of shenanigans happening in the bench room. While it was a nice bonding experience with my classmates, the more important outcome of the close proximity to everyone was that we started experimenting with different tools and techniques and sharing those experiments with others. This sped up the workflow for everyone involved and helped me finish the daunting task.
While the models weren't exact replicas (how I would have liked them to turn out), they were more than acceptable for the project given the time constraint and the lurning curve of this project. Across all models, the surface quality was high quality, proportions were accurate, and shapes were correct for the most part.


While the models weren't exact replicas (how I would have liked them to turn out), they were more than acceptable for the project given the time constraint and the learning curve of this project. Across all models, the surface quality was high quality, proportions were accurate, and shapes were correct for the most part.

