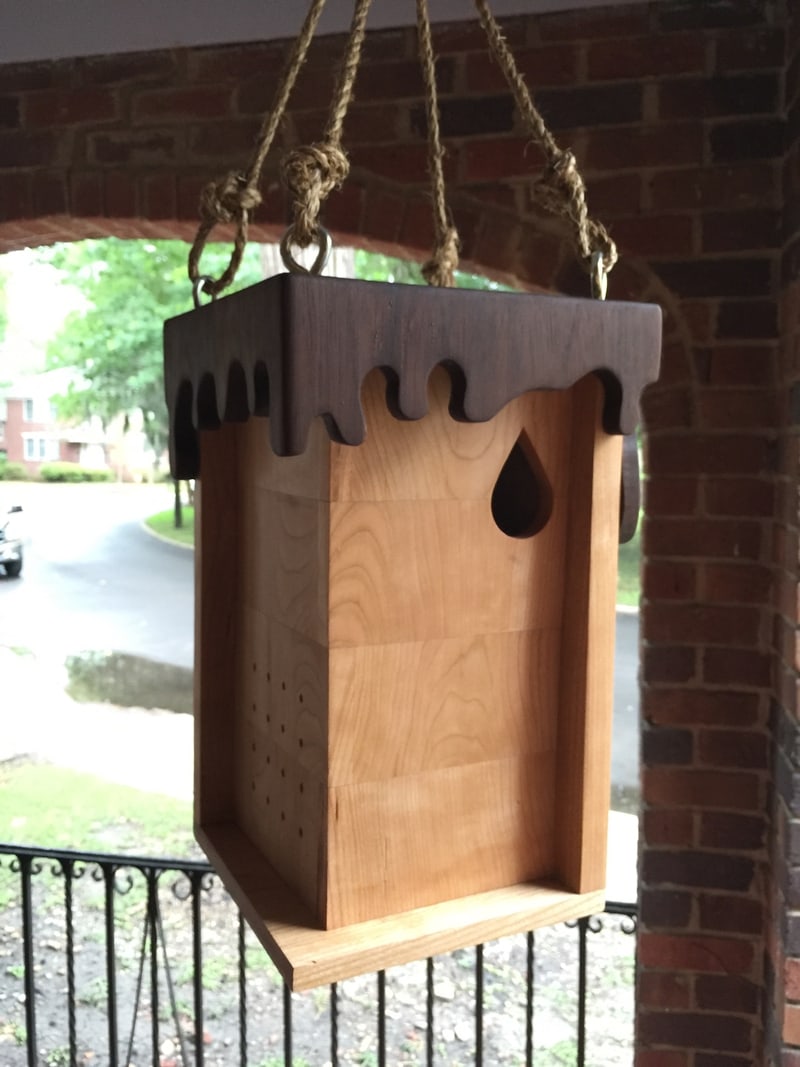
In this project, we had to make a bird house. The requirements were that it had to be made from exotic wood and it had to incorporate 3 types of wood joinery. The point of the project was to get us comfortable with the milling process and especially to get us more comfortable with the table saw, and more specifically to make sure we operate it correctly without any kickback.
When I started the project, I had a really difficult time coming up with a design that incorporated the 3 types of joinery. I did a few initial sketches and moved them into Rhino 3D pretty quickly to get a sense of how they would look with contrasting wood. I went through 4 iterations before I settled on a design that I liked. Below are illustrations of the first three designs that I didn't like.


I finally settled on a basic box design with a dripping layer coming from the top of the birdhouse. I knew I wanted two different woods with contrasting colors, so I bought Cherry and Peruvian Walnut. Something I hadn’t considered while buying the wood was the strength needed for a top piece I originally had wanted to include. During the build, I dropped the top piece from the design and replaced it with metal loops that would end up acting as support for the connection between the Peruvian Walnut piece and the two Cherry pieces. The design change allowed me to building in easy disassembly, as it would now be three separate parts; the top drip, the front walls and roof, and the floor and back walls.


In terms of construction, it was a pretty straight forward build. I chose finger joins, mitered joins, and biscuit joins for my 3 joinery types. I also used the table saw for all of the cuts, the drill press for the ventilation holes in the side, and the scroll saw for the intricate drop design on the top.
The one problem I did face while building was creating the finger joins. The Dado stack for our shop's table saw only allows for a 3/4 inch cut max and I wanted to make 1 inch fingers. This made creating a rig very difficult. I tried to make a rig for a precision fit, but as much as I tried I couldn't figure it out as any small imprecision in the measurements would cause an exponential offset in the later cuts. I attempted to do the finger joins manually and it turned out alright, barring very small gaps in 2 of the fingers. Luckily these gaps were negligible.
